Reading Time: 4 minutes
There’s a moment in every vaper’s journey where pre-made coils start feeling limiting. You’ve experimented with different resistances, tried various brands, and spent considerable money on replacement coils—yet something’s missing. You want control over your vaping experience, the satisfaction of creating something with your own hands, and the freedom to build exactly what suits your preferences. The world of rebuildable tanks offers all this and more, but where do you actually start?
The truth? Building your first coil is far less intimidating than it appears, provided you start with the right equipment and understand the fundamentals. Here’s everything you need to know to begin your building journey with confidence.
Why Rebuildables Transform Your Vaping Experience
Last month, a regular customer at our Kyalami store mentioned he’d been putting off learning to build for over a year. His concern? “I’ll mess it up and waste money on equipment I can’t use.” Three weeks later, he’s building daily, experimenting with different configurations, and wondering why he waited so long.
This hesitation is common, but the reality is quite different. Start your building journey with our beginner-friendly rebuildable tanks featuring easy-to-use decks specifically designed to make your first builds straightforward and forgiving.
Understanding Rebuildable Tank Types
RDA: Rebuildable Dripping Atomizers
RDAs offer the simplest introduction to coil building. Without the complexity of tank systems or juice flow mechanisms, you focus purely on building and wicking. The Seri RDA exemplifies this approach with an accessible build deck that doesn’t overwhelm newcomers with unnecessary complications.
Dripping atomizers require manual e-liquid application directly onto your coils and cotton—a process that might seem inconvenient but actually helps beginners understand how wicking works and how much cotton their coils need.
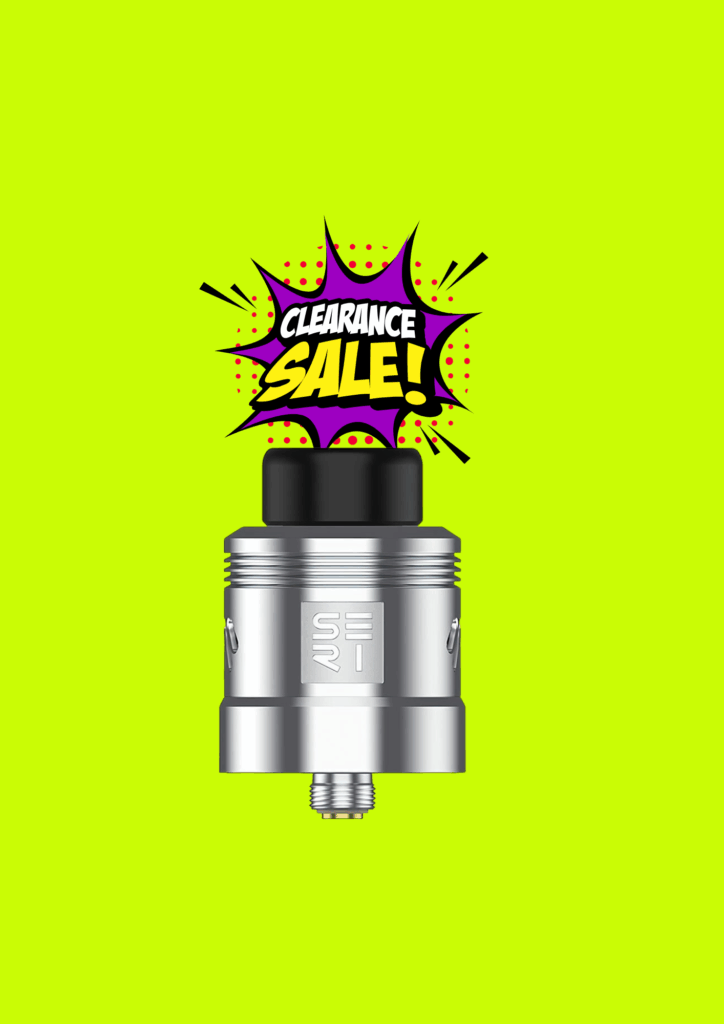
Seri RDA
View ProductRDTA: Rebuildable Dripping Tank Atomizers
RDTAs bridge the gap between pure dripping and tank systems. They combine RDA-style build decks with a small reservoir beneath, feeding e-liquid to your coils through wicking ports. The Helheim S RDTA offers this hybrid approach, providing the building simplicity of an RDA with the convenience of reduced dripping frequency.

Helheim S RDTA
View ProductRTA: Rebuildable Tank Atomizers
RTAs represent the most complex rebuildable option, featuring full tank capacity with bottom-fed wicking systems. While slightly more challenging for absolute beginners, modern RTAs like the Fat Rabbit RTA incorporate design improvements that make building and wicking considerably easier than older generations.
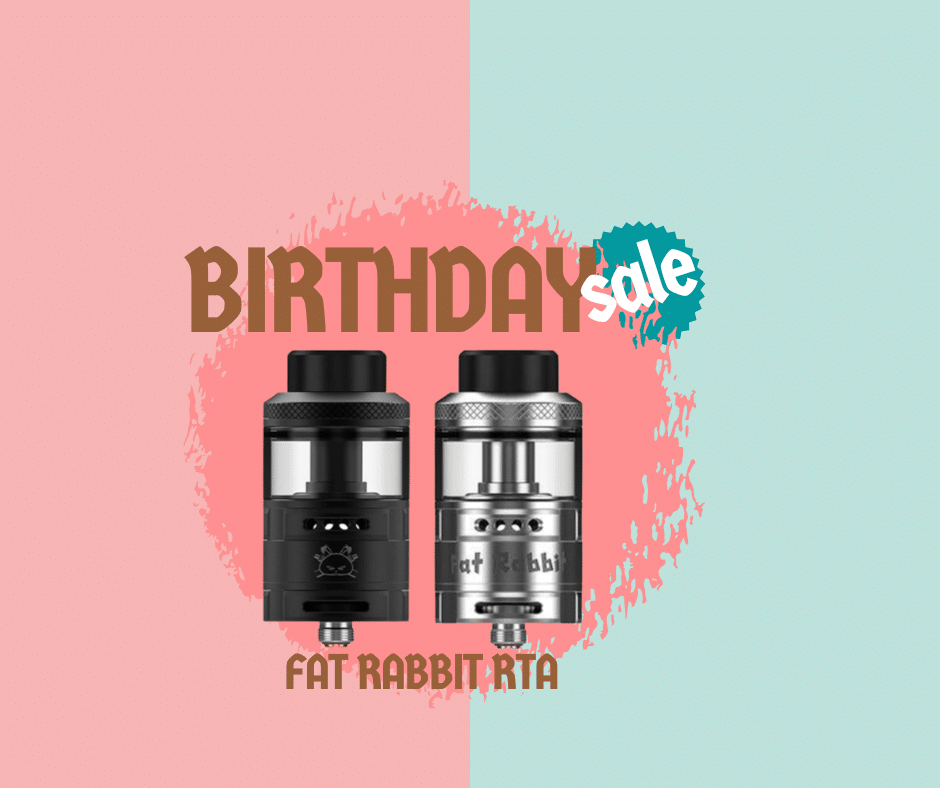
Fat Rabbit RTA
View ProductEssential Tools for Your First Build
The Absolute Necessities
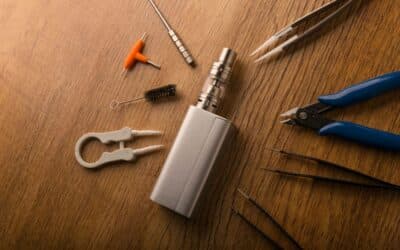
You don’t need a workshop full of equipment to start building. These essentials cover everything for your first successful coil:
Coiling Rod or Screwdriver Set: Creates uniform coil wraps. Start with a 3mm diameter—it’s forgiving and works well for most builds.
Wire Cutters: Flush-cut wire snips specifically designed for coil wire. Standard wire cutters often leave sharp edges that create problems later.
Ceramic Tweezers: Essential for positioning coils and pinching wraps while firing. Ceramic doesn’t conduct electricity, preventing shorts whilst you work.
Cotton: Organic cotton designed for vaping ensures clean flavour without break-in periods. Avoid beauty supply cotton which may contain chemicals.
Coil Wire: Pre-made Kanthal wire offers the most beginner-friendly experience. Choose 24 or 26 gauge to start—thicker enough to handle easily, thin enough to heat quickly.
Nice-to-Have Additions
Ohm Meter: While most modern devices display resistance, dedicated ohm meters help troubleshoot builds and check for shorts before installing atomizers on your device.
Coil Jig: Makes wrapping uniform coils simpler, though not essential if you’re comfortable wrapping around a screwdriver or rod.
Building Your First Coil: Step-by-Step
Wrapping the Coil
Start with approximately 10 centimetres of wire. Secure one end against your coiling rod with your thumb, then wrap the wire around the rod in tight, even spirals. Aim for five to seven wraps initially—fewer creates lower resistance and hotter vapes, more creates higher resistance and cooler performance.
Keep wraps touching but not overlapping. Consistent spacing between the wire and even tension creates uniform heating, which is crucial for good flavour and vapour production.
Installing the Coil
Thread your coil leads through the appropriate posts on your build deck. Most beginner-friendly decks use simple screw terminals—position the coil centred over the airflow, tighten the screws, then trim excess wire close to the posts.
Before proceeding, check for shorts by gently pulsing your device at low wattage. The coil should glow evenly from the centre outward. If one section glows before others, gently squeeze the coil with ceramic tweezers whilst firing to compress the wraps evenly.
Wicking Your Coil
Cut a strip of cotton slightly wider than your coil’s inner diameter. Thread it through the coil—you should feel resistance but not struggle excessively. The cotton should move through the coil freely whilst touching all inner surfaces.
Trim the cotton tails at appropriate lengths. For RDAs, leave tails just touching the deck. For RTAs and RDTAs, tails must reach wicking ports without packing them too tightly, which restricts juice flow and causes dry hits.
Common First-Build Mistakes (And How to Avoid Them)
Too Much or Too Little Cotton
The most common beginner error involves wicking. Too much cotton restricts e-liquid flow, causing dry hits and burnt taste. Too little creates flooding and leaking. The cotton should slide through your coil with light resistance—if you’re pulling hard or it slides effortlessly, adjust accordingly.
Uneven Coil Heating
If your coil glows from one end rather than the centre, the wraps aren’t making consistent contact. Gently squeeze the coil with ceramic tweezers whilst pulsing at low wattage. This compresses wraps together and usually resolves uneven heating.
Hot Spots and Shorts
Overlapping wire or debris creates hot spots—localised areas that glow brighter than the rest of your coil. These burn cotton quickly and produce harsh hits. Always check for even glowing before wicking, and ensure no wire clippings remain on your build deck.
Incorrect Coil Positioning
Positioning your coil directly over airflow intakes maximises flavour and vapour production. Too high and you waste airflow efficiency. Too low and you risk juice spitting. Centre the coil horizontally and position it just above the airflow for optimal performance.
Developing Your Building Skills
Start Simple, Then Experiment
Your first builds should focus on mastering fundamentals rather than attempting complex configurations. Single-coil, round-wire builds teach essential skills without overwhelming complexity. Once comfortable with basics, experiment with dual coils, different wire gauges, and various resistances.
Keep a Building Journal
Document your builds with photos and notes. Record wire type, diameter, wrap count, resistance, and wattage preferences. This reference helps you recreate successful builds and understand what works for your preferences.
Learn From Each Build
Every build teaches something, even failures. Dry hit? Your wicking needs adjustment. Muted flavour? Try repositioning your coil or adjusting airflow. Harsh throat hit? Reduce wattage or increase resistance. Each iteration brings you closer to your perfect vape.
FAQ: Beginning Your Coil Building Journey
How long does it take to build a coil?
Your first build might take thirty minutes as you learn the process. With practice, most builders complete simple coils in under ten minutes, including installation and wicking.
Is building cheaper than buying pre-made coils?
Significantly cheaper over time. Initial tool investment ranges from modest to moderate depending on your choices, but wire and cotton cost a fraction of pre-made coils. Most builders recoup their investment within the first few months.
What if my first build doesn’t work?
First builds rarely achieve perfection. Common issues like flooding, dry hits, or poor flavour usually stem from wicking rather than the coil itself. Don’t get discouraged—remove the cotton, adjust, and try again. The learning process is part of the rewarding experience.
Which rebuildable type should beginners choose?
RDAs offer the gentlest learning curve with the most forgiving mistakes. Once comfortable building and wicking, progress to RDTAs or RTAs if you prefer reduced dripping frequency.
Your Building Journey Starts Here
That customer who waited a year before trying? He recently mentioned that building has become his favourite part of vaping—not just for the cost savings or performance benefits, but for the satisfaction of creating something perfectly suited to his preferences.
Your journey into rebuildables doesn’t require years of experience or extensive technical knowledge. It requires curiosity, patience, and the right equipment to start. Visit any of our stores where our experienced staff can demonstrate building techniques and help you select appropriate equipment:
Ready to take control of your vaping experience? Contact our team for personalised advice on choosing your first rebuildable and the tools you’ll need to begin building with confidence.